I have been into photography for a long time now. Though I don’t have many great photos to show for that. They say that photography is an expensive hobby. But I have seen people take photos with point and shoot cameras without external lenses, and it’s come out well. It’s the eye for framing a shot and the vivid imagination that brings beauty to your photos. Now, mobile phones even have telephoto lenses! However, for a passionate photographer, mobile phones and these point and shoot cameras are just not enough. They need the ability to choose various modes and settings. They have to try out various aperture settings, focal lengths and ISO. Then see how it turns out.
My first camera was a Yashica. Maybe when I was 15 yrs. I used to take photos mostly during trips and then family. At that time, films were expensive. I think one roll of film used to cost 36 INR. Fuji film, Kodak etc were the ones popular. I remember loading the film into the chamber and how one had to extend the film to hook it around the protruding pods. The films would be over in a giffy and I never had enough money to waste on films. So, it was special. I still have lots of pictures in albums, and I am thinking how to scan and digitize them.
My second camera was Minolta. It was more smaller, and I took it to Switzerland when I was there on work. This was in 2000s. I don’t know if we had digital cameras then. I also recall going to a Love parade in Zurich and shooting lots of interesting photos. Only to find back at the hotel that the film was not loaded properly, though the counter kept moving. What a bummer.
I lost that camera along with my jacket, on the train to Jungfrau. I kept it in the luggage rack and forgot it there. So I lost the film roll as well. However, it’s an interesting thought. The maximum we would lose if we lost a camera then, would be the camera of course, and 35 films. Now, if we lost a DSLR camera, we would lose a fortune. Considering the cost of the camera and the number of snaps we can store on the SD card.
Another point of interest – now we can take a 100 snaps, and later on at our leisure, check them out on our laptops, and even enhance them digitally if we have the RAW files. Adobe Lightroom and Photoshop are commonly used for this. Before digital photos, each snap had its value. We couldn’t experiment, and it would cost a lot of money and a very different mentality to take photos casually and then check which came out better. There was no preview mode and it needed a lot of expertise and confidence to take the snaps using 35mm film camera. This is where DSLR trumps over the normal film camera. It has made photography immensely available to the masses. Someone like me can at least take the camera where ever I travel and keep clicking. Some of them will turn out well, and I can then gloat over them.
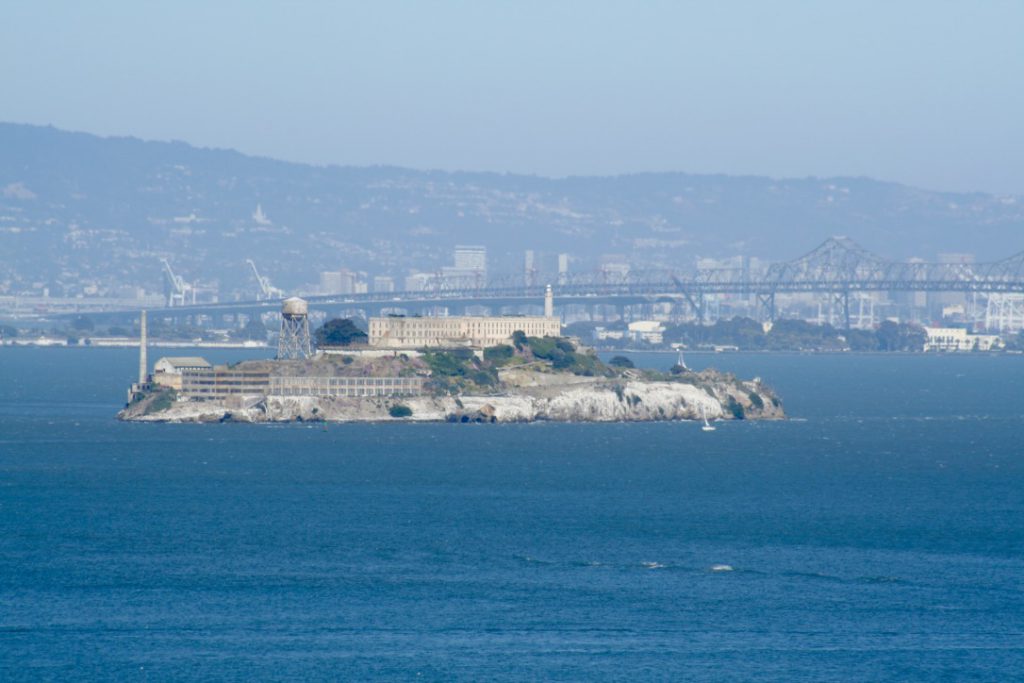
When I was in the USA, I bought my first DSLR. It was a Canon Digital Rebel XT. I was over the world with happiness. Now, when I look at the spec of the camera then, I feel so silly. I think the ISO setting max was some 4000. Now we have more than 100,000 on DSLRs. However, it was a cool camera, and I took lot of snaps of San Francisco and other places with it.
Once it was a DSLR, the quality of pictures directly moved from a property of the camera, to a property of the lens. I think I had a very utilitarian kit lens and with that I did most of my photography. If I remember, it was some 40-110mm lens or something like that. I also purchased a telephoto zoom lens, a 75-300mm. But it had no Image Stabilisation nor was it USM. All manual, so at 300mm, it became very grainy. Still, got some good pictures.

The main points I noticed after using the Rebel XT was the lack of controls while composing a shot. Now we can manually adjust all settings. At that time, either I didn’t know, or else the camera didn’t support it. It was mostly pre-set modes from what I recall.
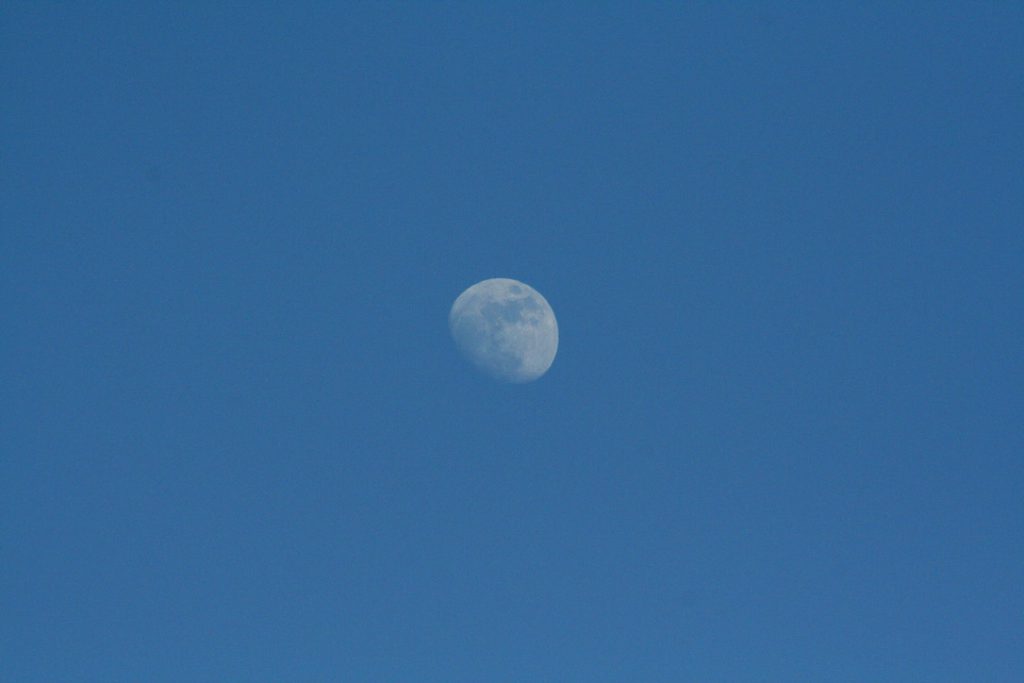
The zoom shot of the moon, thought taken with a 300mm, might have had the equivalent impact of 450mm or more. Because, the DSLR sensor is not the same as 35mm sensor dimensions. So while zooming, we get almost 1.5 times more effect without losing much clarity. However, the reverse applies when we take a wide angle shot, it will still get cropped by 1.5 times.
As you can see, the pictures, while good, are not really so pleasing to the eye.
After using the Rebel for around 5 years, I decided it was time for an upgrade. I was using the Rebel at least till 2012 when I bought my Canon EOS 60D. It wasn’t a professional camera, but it was somewhere between a beginner’s camera and an advanced amateur’s camera. It was 18 MP with 3:2 aspect ratio, but Rebel was maybe 4MP. So you can imagine the difference in clarity, and how many more pixels with color and detail would be filled in the sensor. It was also a CMOS sensor. So great advancement in Camera technology. Supported video recording. But modern cameras support Wifi, GPS etc and are almost 50MP. I hope to write some positive news here in the coming days, but this is not the time.
As I say, more than the camera it is the lens which decides the quality of image. I still had only my old zoom lens, though I purchased a couple of other lenses. My lens repertoire consisted of the following:
- Canon EFS 18-135mm IS
- Canon EF 75-300 f/4.5-5.6L
- Canon EF 50mm f/1.8L – Nifty Fifty
- Canon EF 100mm f/2.8L
You must have noticed, the first lens is an ‘EFS’ and the rest are all ‘EF’. EFS means that it will work only on the smaller APS-C sensors. Yes, like the Rebel, the EOS 60D is also NOT a full frame camera. Let’s spend some more time on this.
A normal 35mm film camera sensor would be of 36*24mm dimension. The APS-C camera sensors have 24*16mm, which gives it an aspect ratio of 3:2. EFS lenses are designed for APS-C sensors, while the EF lenses are designed for full frame cameras. However, all EF lenses will also work on APS-C sensors. Hence the EF lenses that I had, worked on my camera. However, the behavior is slightly different than how an EF lens would work on a full frame camera.
The positive effect of mounting the third lens (50mm) on my EOS 60D APS-C camera is that the effective distance the lens can cover becomes 50*1.5 = 75mm automatically. So, the effect is similar to a 75mm lens mounted on a full body. This is a good thing in some situations, esp when we take telephoto pictures (with a 100-400mm lens). Basically, we are capturing less of the scene that comes through the lens, onto the sensor. Because the sensor is smaller. The image is more magnified. However, when we want to take landscape or party pictures, this also means that we don’t get the full scene as the lens captures. I hope you got the point.
Another drawback I have noticed, is flare during bright sunlight. The below is a good example.
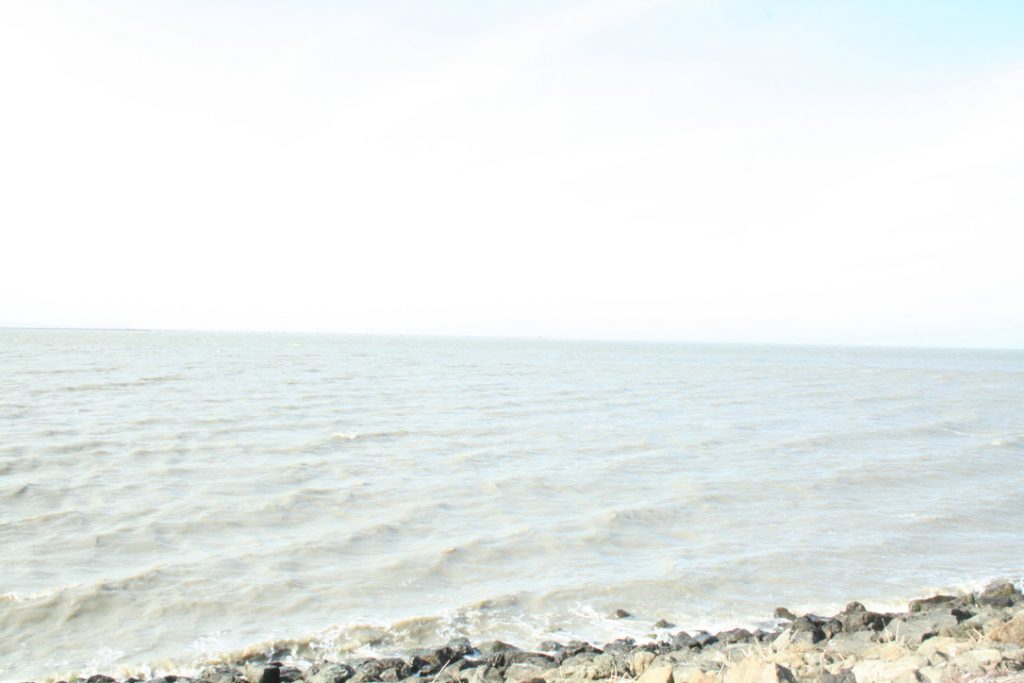
While I know the above picture is not a proper flare, I had this extra brightness issue sometimes.
While EF lenses can be mounted on APS-C cameras, the reverse is not possible. In some models, it supports this. But Canon doesn’t support as far as I know.
A good photographer (amateur, professional) will also have a range of lenses to cater to various situations. It is always good to have lenses at f/4 and below, but such lenses are so expensive. A good lens costs upwards of 1500 USD and goes upto 10000 USD. I am just a beginner, so I don’t want to spend so much money on lenses. However, some basic lenses are required.
A utility lens which can always be used is the 50mm lens. 50mm is similar to human eye, and photos taken resemble the scene we would picture using our eyes. Hence this lens is also called the Nifty Fifty, since it’s always useful. I have a prime lens at 50mm, which means it cannot be zoomed and the focal length is fixed. It is very useful for portrait and landscape photography.
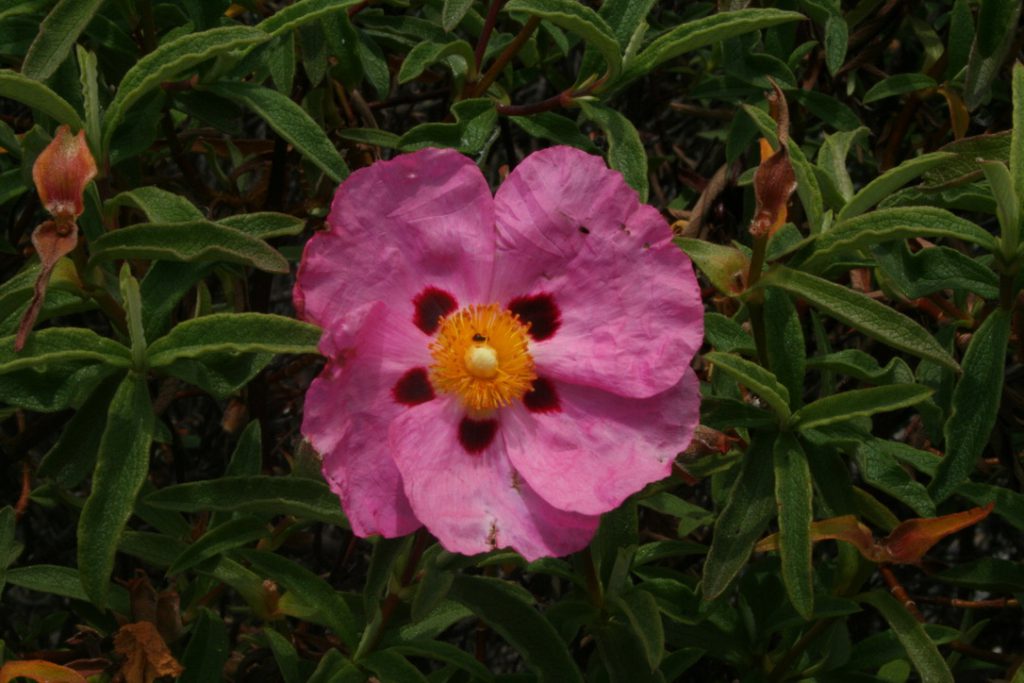
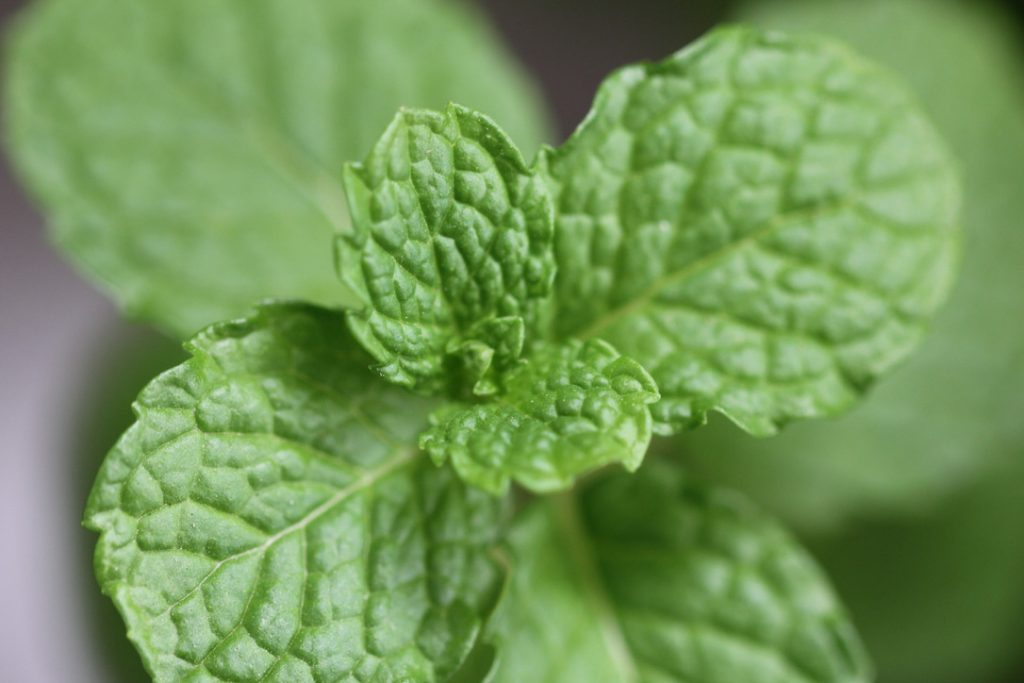
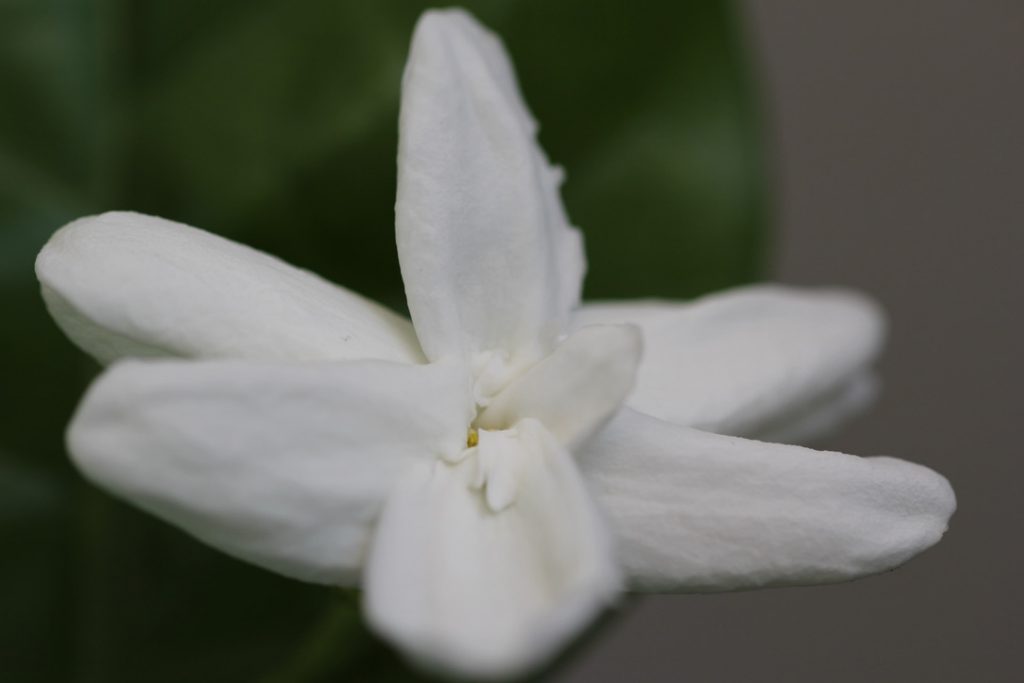
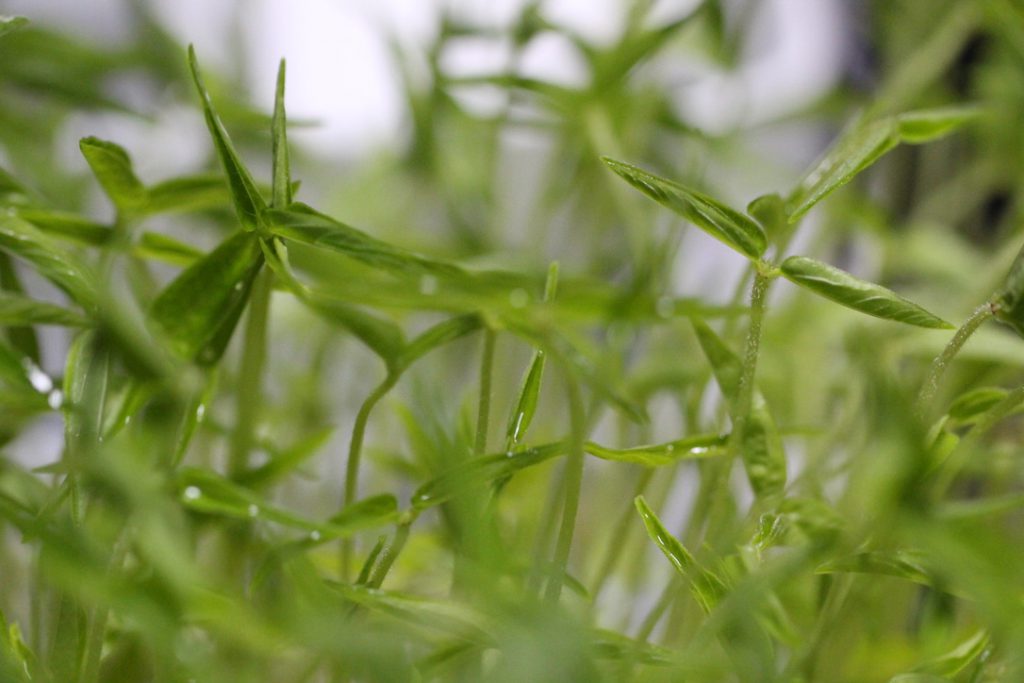
Every good photographer at some point or the other, wants to try macro photography. Macro photography is magnifying a subject and getting really close to it. Flowers, birds, flies and insects are good candidates for this. This needs a really good lens. For this, I have the 100mm lens. It’s one of the best in the business. Some of the macros I have taken using it are given below. Again, pls view this objectively. I am just a beginner.
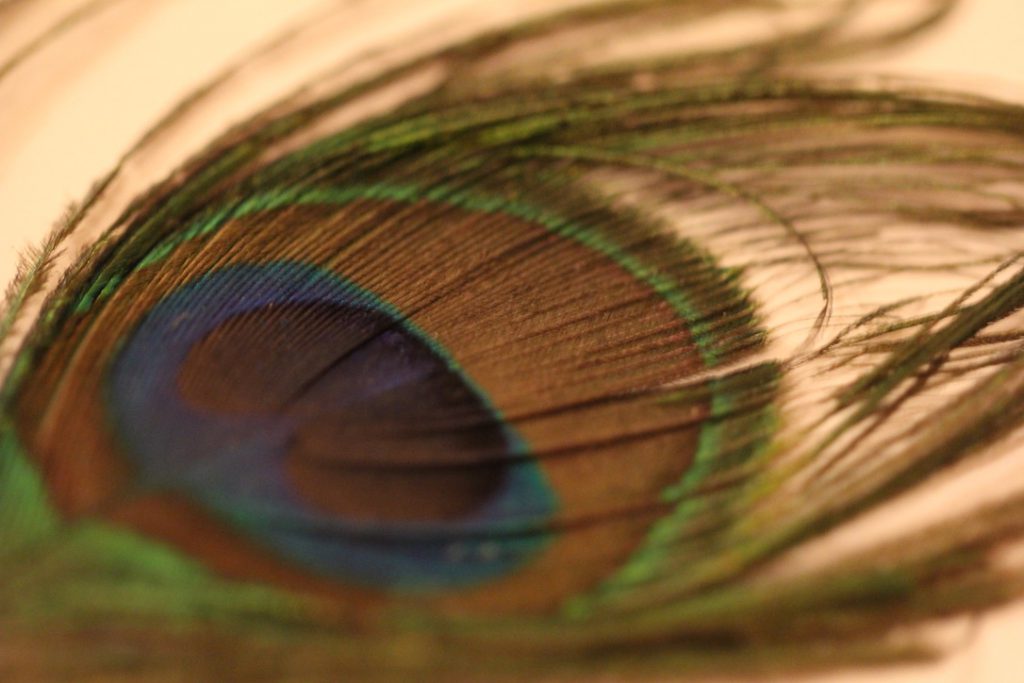
The peacock feather should have been a great picture. Unfortunately the light was not good, and I will try again.
If these pictures were taken using a full frame camera and the same lens, I feel the effect would have been different. I am hoping that I will upgrade my camera, and will try again. Nothing much to do during this lockdown time, other than trying out such experiments. Nothing much to spend money also on.
One interesting point I wanted to demonstrate.
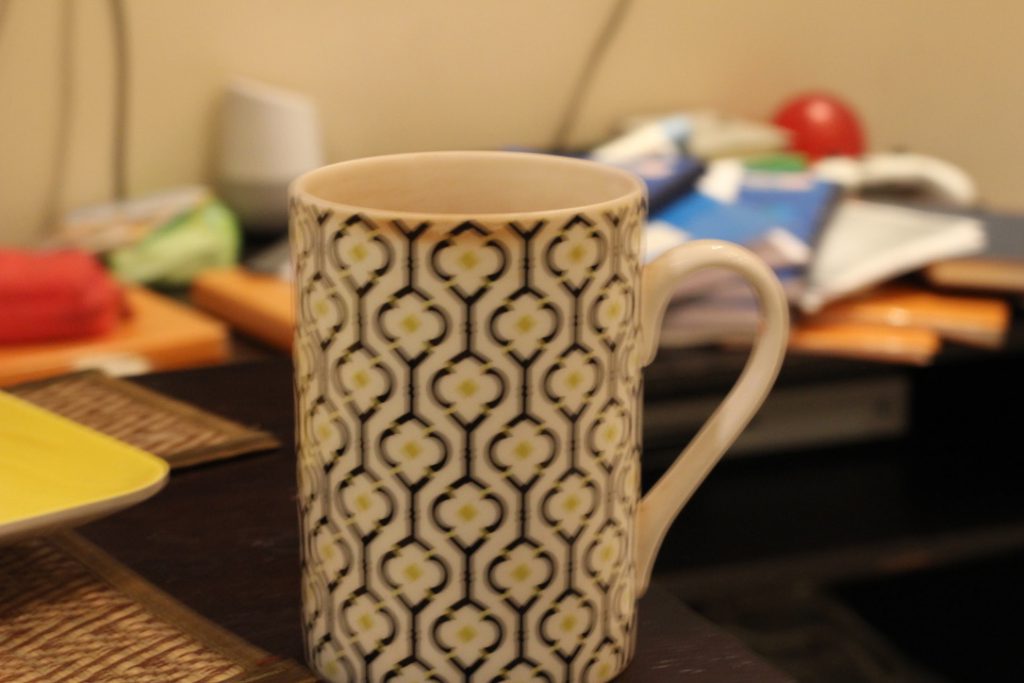
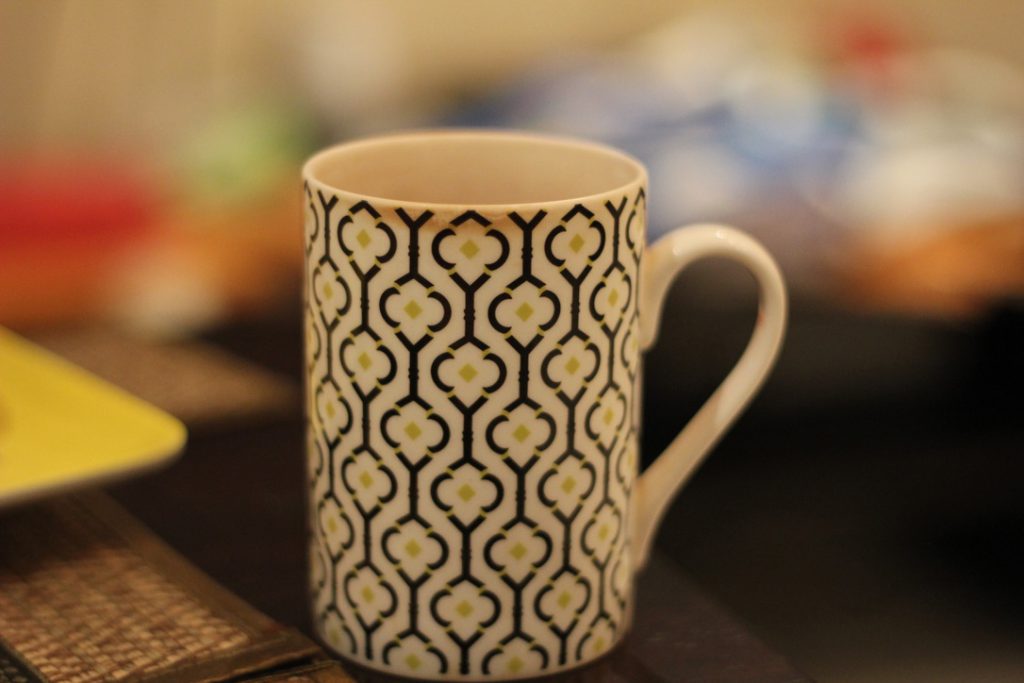
If you look at the photos above, they are taken from the same viewport. I know one photo is slightly shaky, forgive me for that. However, what I wanted to point out is the background. Background blur is very important to strengthen the look of a photo. In the second photo, the cup stands our more.
Where we need to focus on a specified point, and the rest needs to be blurred, we need to select a large aperture setting (closer to 2). It is always 1/x, so the value is larger. This gives it a shallow depth of field. If we want to maximise the depth of field, we need to use smaller aperture settings (closer to 32 etc), that lets in a narrow amount of light.
Both the pictures above were taken with the same lens, from the same point. For the first, I used a smaller aperture setting and for the blurred one, I used a larger aperture setting.
While composing a shot, the most important aspect is the control we have over the light that we let into the camera and sensor, or the exposure. There is something called the Exposure triangle. Basically, the three attributes that control exposure are Aperture, Shutter speed and ISO. Aperture is the hole inside the lens, that lets in the light and which goes on to get imprinted in the sensor. The smaller the aperture hole, the lesser the light that comes in. Aperture values are denoted as f/1.8, f/2, f/32 etc. f/1.8 gives the maximum aperture and thus maximum light, and f/32 gives smallest aperture and hence minimum light. Similarly, shutter speed is the amount of time the sensor captures the scene. For a still scene, we might need a smaller shutter speed, like 1/60th of a second. But, for a sports shoot or a car driving, we need a higher shutter speed, like maybe 3 seconds? So, the higher the shutter speed, the more light we will get in. Similarly, ISO is also a setting inside the camera that controls exposure. It ranges from maybe 100 – 32000 or even 100000 +
These three properties need to work together to get the best and balanced exposure. Normally, we would keep ISO low, like maybe 100 or 200. Then, we would adjust the exposure with Aperture setting and/or Shutter speed. For example, let’s say we have good light, and we are shooting a subject. Our ISO is 100, shutter speed is 1/60th and our Aperture is f/10. Now, the light becomes slightly bad. So, we need to increase the light coming in. We can either move the shutter speed to 1/30th or even 1/4th of a second, or, we can move the aperture to f/8, f/6 etc. We normally move in f stops, which is the unit of measuring or expressing this exposure. So, if we increase the aperture by an fstop, we need to reduce the shutter speed by an fstop. However, keep in mind, aperture settings have a finite limit. Most apertures cannot go below f/2.8 or so, because then the lenses become very expensive. If you have reached the maximum limit of your aperture, the only way then is? Yes – to increase the ISO if you want to keep your shutter speed constant.
While composing each photo, it is not easy to know instinctively how the exposure will be. This is why all cameras have a light meter. Based on the current settings, the light meter will tell if we are balanced, under exposed or over exposed. If over exposed, we need to reduce the light coming in. If under exposed, we need to increase the light coming in. Using either the aperture or shutter speed or ISO, as we mentioned above.
The blog truly reflects your passion for photography! Didn’t know there was so much behind photography, interesting info!
Keep writing and continue posting pictures of your photography experiments.